Low-light photography can be challenging, especially without expensive equipment. However, with the right techniques and practice, you can still capture stunning images in low-light conditions. Here are some tips on how to master low-light photography without breaking the bank:
Use a Tripod: Investing in a tripod is essential for low-light photography. It will help you keep your camera steady, reducing the chances of blurry images due to camera shake. This is crucial when shooting in low light, as you'll likely be using slower shutter speeds.
Increase ISO: To compensate for the lack of light, you can increase your camera's ISO setting. This will make your camera more sensitive to light, allowing you to shoot in darker conditions. However, be cautious when increasing ISO, as higher values can introduce noise into your images.
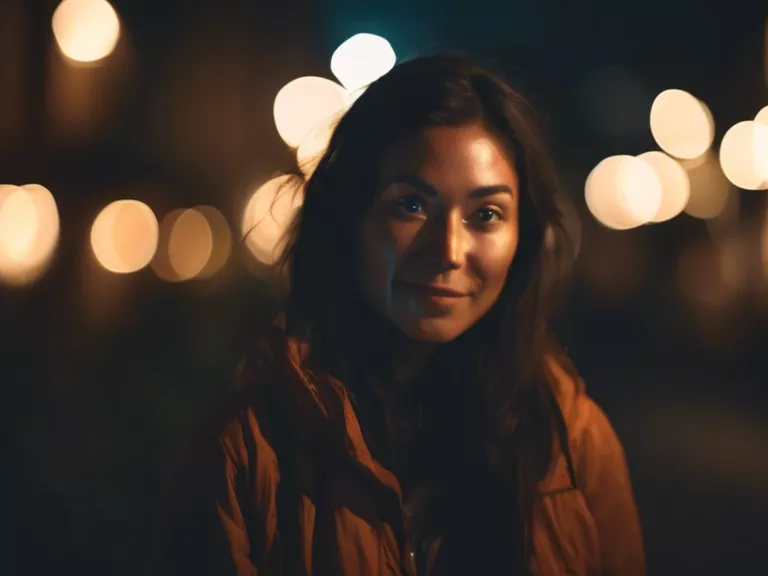
Wide Aperture: Using a wide aperture (low f-stop number) will let more light into your camera, helping you capture brighter photos in low-light situations. Additionally, a wide aperture can create a beautiful background blur, known as bokeh, making your subject stand out.
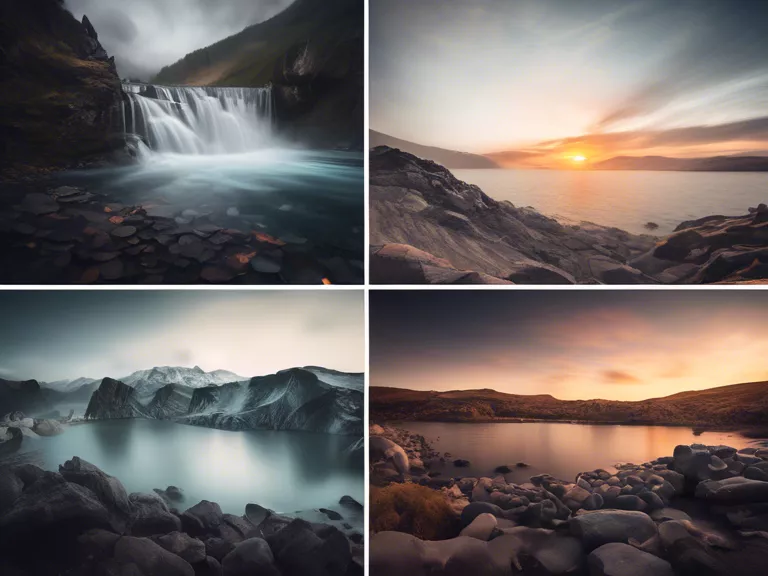
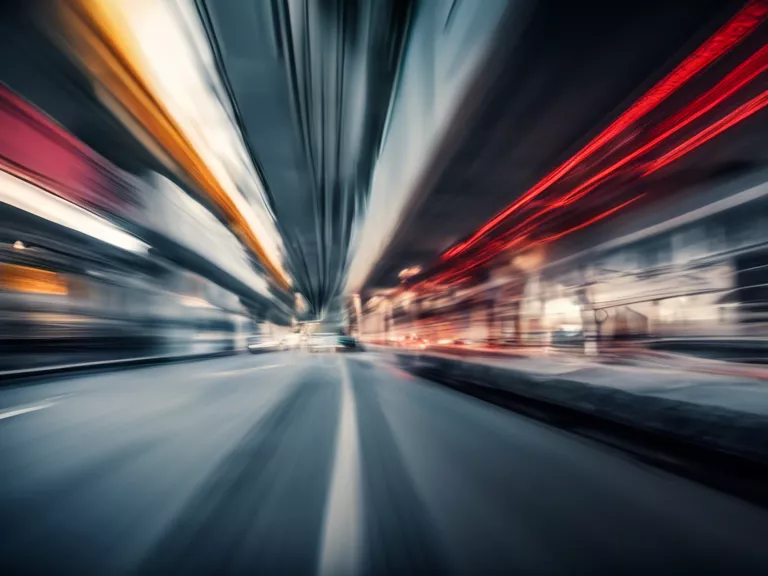
Slow Shutter Speed: If you're shooting stationary subjects, you can use a slow shutter speed to gather more light. Just remember to use a tripod to avoid camera shake. However, be mindful that moving subjects can appear blurry with slow shutter speeds.
Post-Processing: Don't underestimate the power of post-processing software like Adobe Lightroom or Photoshop. You can tweak the exposure, contrast, and noise reduction to enhance your low-light images and make them pop.
With these tips and some practice, you can capture stunning low-light photographs without needing expensive equipment. Remember, the key to mastering low-light photography is understanding how to work with available light and optimizing your camera settings accordingly.